 |
| British Sherman 1942 |
dinsdag 25 december 2012
M4A3E8, paint part II

zondag 23 december 2012
M4A3E8, paint part I
 |
| Grey prier coat |
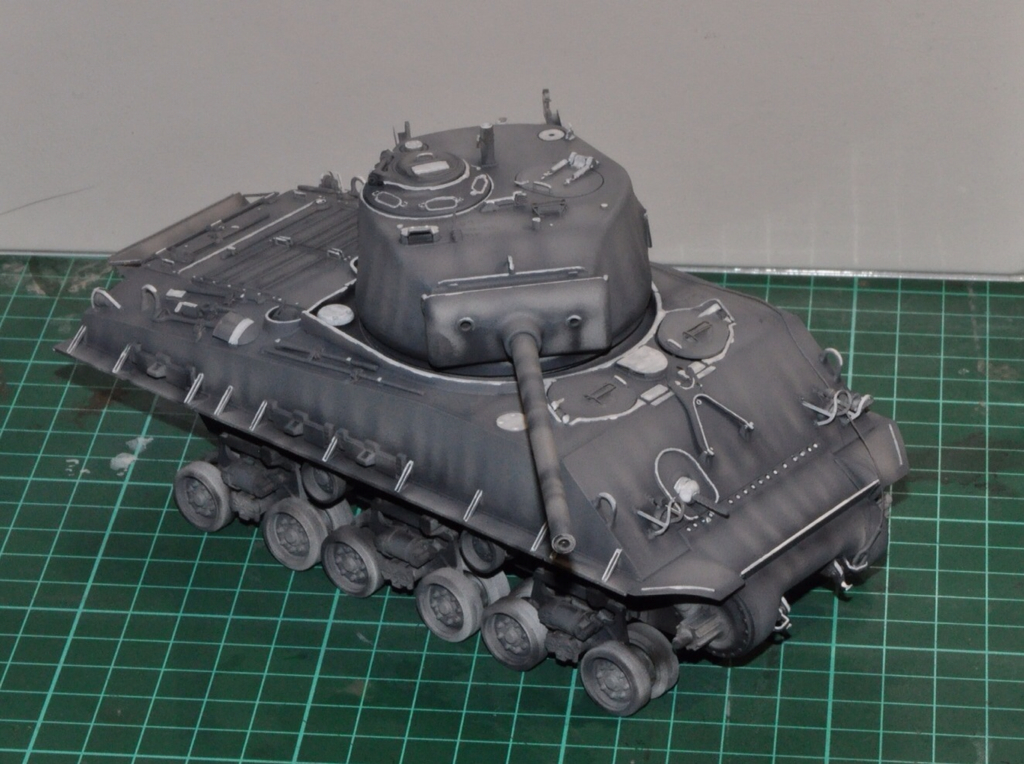 |
| Pre shading |
 |
| First basecoat |
woensdag 19 december 2012
M4A3E8, build part IV
Completed assembling the Sherman, everything kinda dropped into place and little work was needed, except for the turret which had, in my opinion, a little to much visible seems. I corrected this by dotting it with a putty/ glue mix and givenit a light sanding afterwards.
 Because i don't know what the setting of this model i will be and if i want to use figures or not I made all the hatches workable so i can open or close them when needed. I drilled out the hinches and used copper wire to connect the hatches to them.
All the hinches worked with me except the drivers hatch, for this hatch i wrecked the hinch by drilling at the wrong point. I tried to fix this by painting 3D paint over it. 3D paint is perfect paint for giving some texture to parts.
At last i used green stuff to simulate welding beads where some parts, like the PE parts, where missing these beads.
maandag 17 december 2012
M4A3E8, build part III

zaterdag 15 december 2012
M4A3E8, build part II
 |
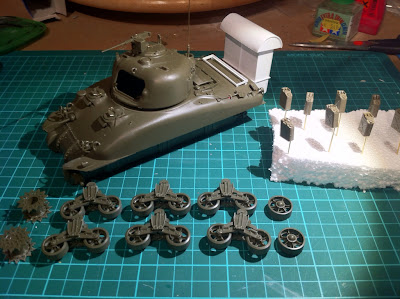
| Parts of one bogie |
 |
| 5 bogies done, one to go |
.  |
| Lower and upper hull |
Glueing the lower and upper hull together, there is not a single gap between the parts, love the Tasca kits :). Tamiya masking tape is perfect to fixate parts while the glue sets.
donderdag 13 december 2012
M4A3E8, build part I
 |
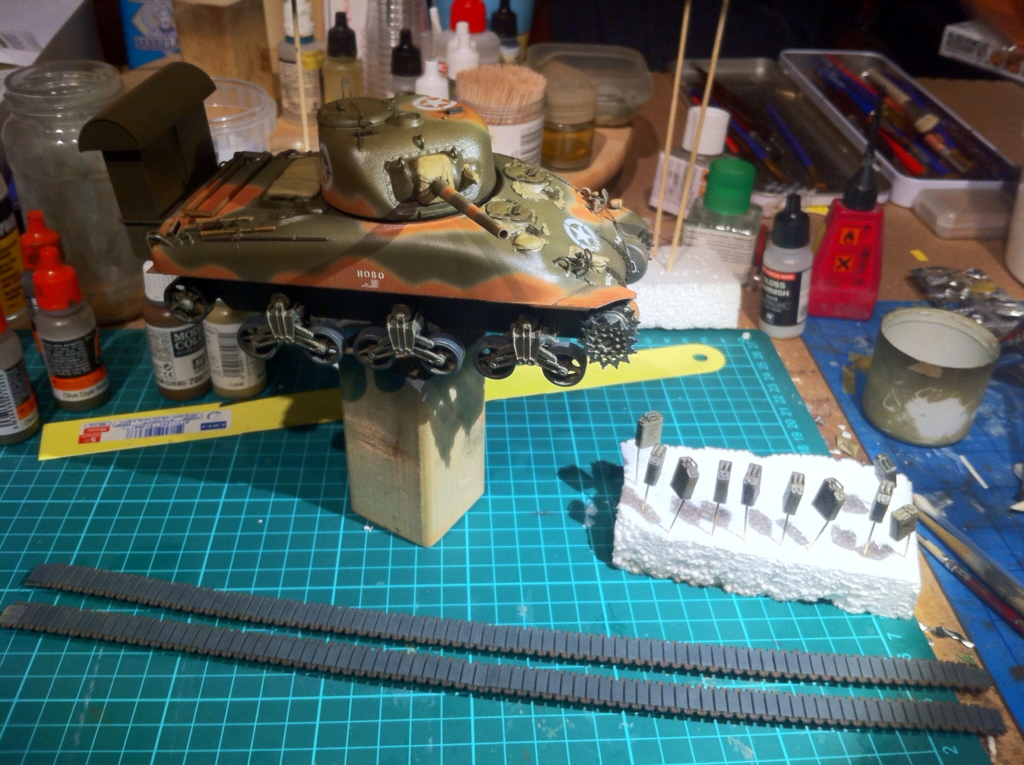
| Building the T66 Tracks |
 |
| Lower hull, drive sprockets, idler wheels and transmission housing |
 |
| Lower and upper hull dry fitted |
maandag 10 december 2012
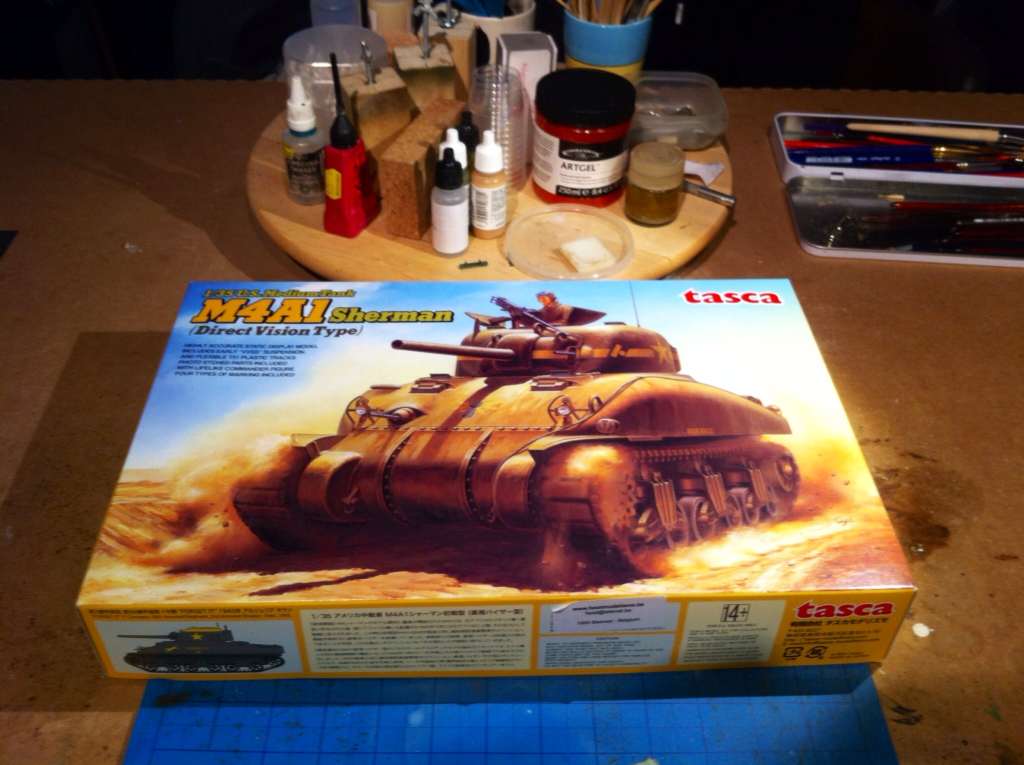
M4A3E8
A cleaned up bench was asking for a new project. This project will be the M4A3E8 Sherman from Tasca (#35-020) that i picked up from "der sockelshop" in Germany.


M4A1, Operation Husky, 99% done


The model can use a little bit more weathering, hence the 99% :)
zaterdag 8 december 2012
M4A1, operation Husky, weathering and base

Been busy applying different coats of AK-Interactive dust effects to give the sherman a dusty look. Since this will be a tank that just landed on the beach i choose to keep the dust wash light.

Using plaster bandage and paper-maché i started work on the base that should depict a piece of beach.

Added dune gras made from a old brush and covered the papier-maché with bird-sand (the stuff you buy at the pet store to cover the bottom of bird cages with). The sand is glued to the base using white glue.
I think it needs a last coat of sand before painting.

Placed the serman on the base to get an idea how the result would look like.
vrijdag 30 november 2012
M4A1, operation Husky, almost there...

donderdag 29 november 2012
M4A1, operation husky, painting IV
Repainted the deep wading waterproofing canvasses in a lighter shade because They came out a bit to dark after washes.
zaterdag 24 november 2012
M4A1, operation Husky, painting III

donderdag 22 november 2012
M4A1, operation Husky, painting II


maandag 19 november 2012
M4A1, operation Husky, painting I

zondag 4 november 2012
M4A1, operation Husky, build part I
I spend the last couple of days building the M4A1 tasca kit and scratch building the 5AITC wading trunk and jerrycan rack. Although i have a couple of Tasca kits in my stach this is the first kit i started building andi am realy impressed by the quality of the kit, everything fits and is super detailed. Even the .50 machine gun is a little build project.
 I couln't find any real drawings for the 5AITC wading trunk so i had to use photographs and the template from the Zaloga modeling book to create one.
The turret is waiting for it's metal gun barel from RB Model that in the mail.

The turret is waiting for it's metal gun barel from RB Model that in the mail.
maandag 29 oktober 2012
M4A1 early sherman operation Husky
On the Euro Scale Modeling 2012 event i bought a nice Tasca M4A1 direct vision kit (#35024) which will be my new project.
 Inspired by the Sicily (operation husky) M4A1 early sherman in the 'Modelling the US Army M4 (75mm) Sherman Medium Tank' book by Steven J. Zaloga this will be sherman in yellow/od camo pattern with the 5AITC wading trunk.


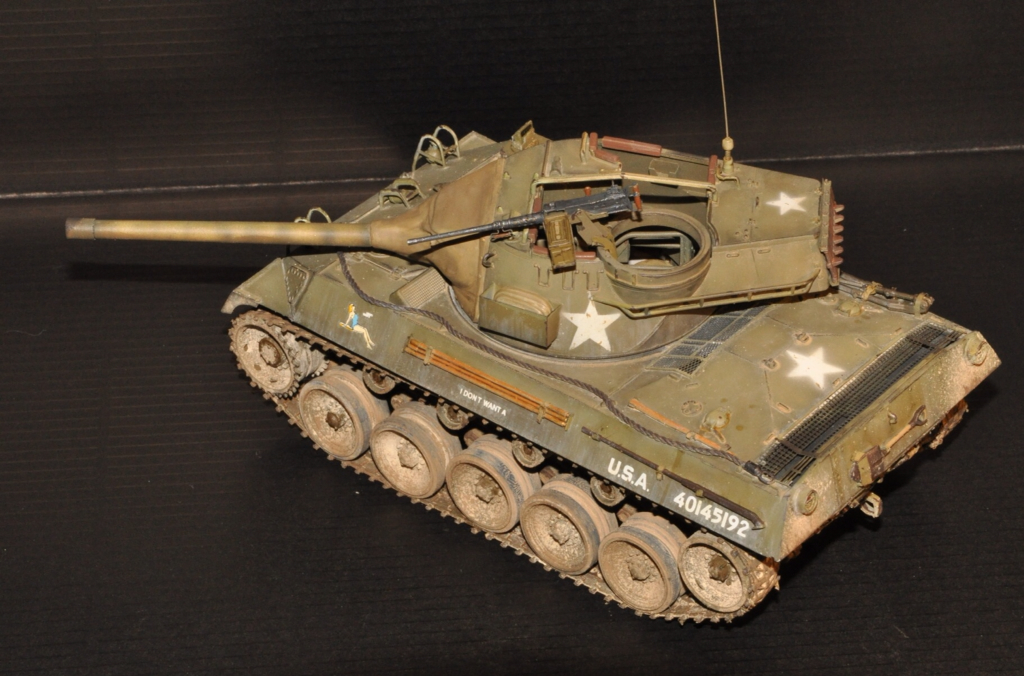
M18, done
Today i declare the Academy M18 Hellcat kit done. There are plenty of things that can be improved or added but it's time for a new project.
Some pictures:

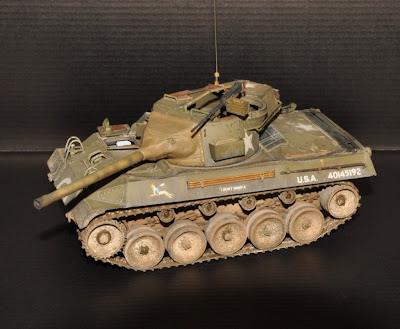
 Although plenty of things went wrong such as visible decals, wrong location of the allied star on the front and vinyl tracks that would not hold paint during weathering i still like the overall look of the kit and i learned a lot.
Next step: cleaning and re- organizing my work bench for the next project.
Some pictures:


Next step: cleaning and re- organizing my work bench for the next project.
donderdag 25 oktober 2012
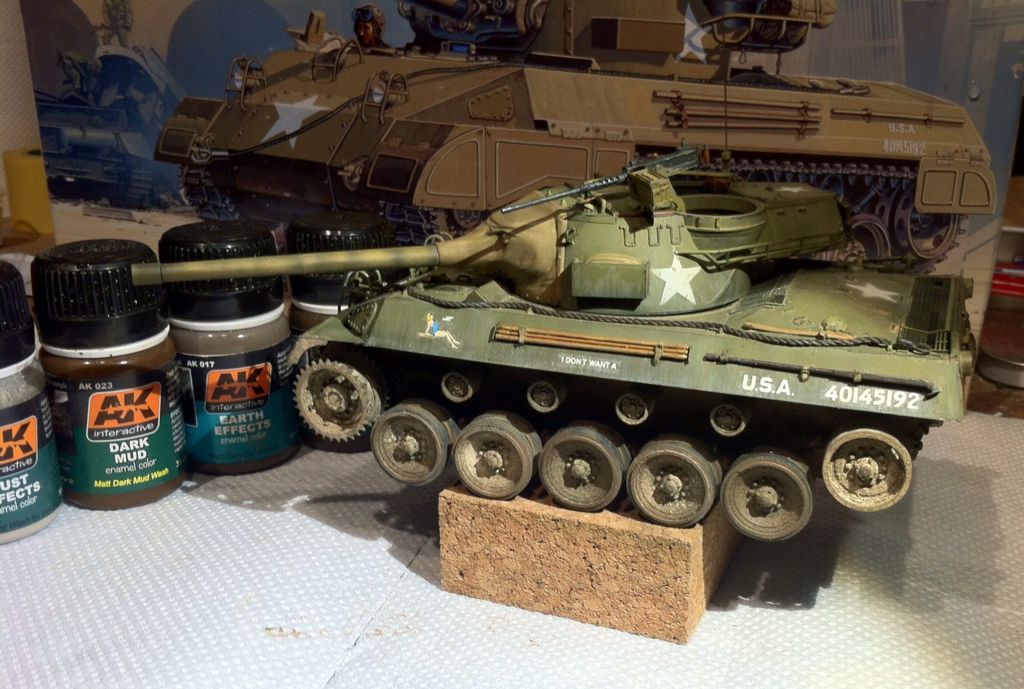
M18, mud, mud and more mud
A quick update: added mud to the lower part of the hull and running gear.
 For this i used the AK-Interactive earth/ mud washes mixed together with plaster and applied from light to dark.
dinsdag 23 oktober 2012
M18, painting part IV
Added some dust washes and chipping to the hull using my favorite Vallejo paint color "cammo black/brown" and enamel based washes from AK-Interactive.


donderdag 18 oktober 2012
M18, painting part III
After a vacation and some other interests i picked up this project again and continued painting and detailing. Somehow this project isn't going as smooth as i like it to go and i need to keep telling myself to first finish this one before starting a new one.
 Added the decals, although i used the same steps i always do with decals (glossy finish, set, sol and a glossy finish to seal the decals) you can see the decal outlines. Bummer !
The allied stars are sprayed on using a stencil and the airbrush.


 The turret .50 cal gun. Sorry for the blurry picture, mobile phone cameras are not that good for detail shots.

The allied stars are sprayed on using a stencil and the airbrush.


Some detail painting on the turret, the gun mantle canvas can use some additional high-lighting.

maandag 1 oktober 2012
M18, painting part II
After a week of absense i continued working on the M18. It already has its base color and now it is time to do some detail painting.

I painted the tools (still need more practice on painting wooden tools) and some turret details. At this moment the first coat of gloss varnish is drying. I am using "Pledge Extra Protection" for wood floor surfaces (Future, Parket Plus or whatever it's called in your country) as a gloss varnish.

I painted the tools (still need more practice on painting wooden tools) and some turret details. At this moment the first coat of gloss varnish is drying. I am using "Pledge Extra Protection" for wood floor surfaces (Future, Parket Plus or whatever it's called in your country) as a gloss varnish.
zondag 23 september 2012
M18 got its base color
After hours swearing, sanding and re-attaching those damned PE parts that seem to fall off every time i only look at the model i finaly got it airbrushed in the base color.

Instead of using the OD color surface primer i used the white one this time. The reason for this is i wanted to try a different shading technique. This technique basicly consist of creating a grey tinted version of your model first and then spray it with thin layers of your base color resulting in a beautyful shadowed model.
On paper (and with a german grey vehicle) this worked like a charm but on my OD verhicle and using Vallejo paint the base color came out to yellow so i ended up doing the basic pre-shading steps
The mantle cover still needs it base kakhi color.
vrijdag 21 september 2012
Stowage, stowage, stowage
I am always short of stowage items to dress up my models. Shure, tarps and bedrolls can be made from putty but adding detail to them is a hell of a job. Offcourse there is a wide selction of companies selling stowage sets but those sets are mostly dedicated to a specific model and quite expensive.
I found a company called Value Gear that sells a collection of tarps, tents and crates for a nice price where i ordered a couple of sets.
After a couple of days my order was delivered by the mailman that, besides the ordered items, also contained some sample items from a new crates set that is going to be available later.

I am looking forward to try these items on my new models.
woensdag 19 september 2012
M18, Academy
After building M4 and M10 models for a while it's time for a new project, one without assembling sherman bogies !
Besides sherman tanks i am also interested into allied tank destroyers. My new project, the Academy M18 hellcat kit, is such a tank destroyer. This will be my first build where i am using aftermarket details, a PE set from Eduard.
Some pictures:


Besides sherman tanks i am also interested into allied tank destroyers. My new project, the Academy M18 hellcat kit, is such a tank destroyer. This will be my first build where i am using aftermarket details, a PE set from Eduard.
Some pictures:


zondag 16 september 2012
M4A2, a model's second chance part V
I think i have overdone the mud part of weathering the running gear a bit.

I used a combination of airbrush/brush speckle technique's on applying a mixture of plaster and mud colors. The complete hull is airbrushed with a highly diluted mixture of ak-interactive dust effects.

I used a combination of airbrush/brush speckle technique's on applying a mixture of plaster and mud colors. The complete hull is airbrushed with a highly diluted mixture of ak-interactive dust effects.
Abonneren op:
Posts (Atom)