 |
| British Sherman 1942 |
dinsdag 25 december 2012
M4A3E8, paint part II

zondag 23 december 2012
M4A3E8, paint part I
 |
| Grey prier coat |
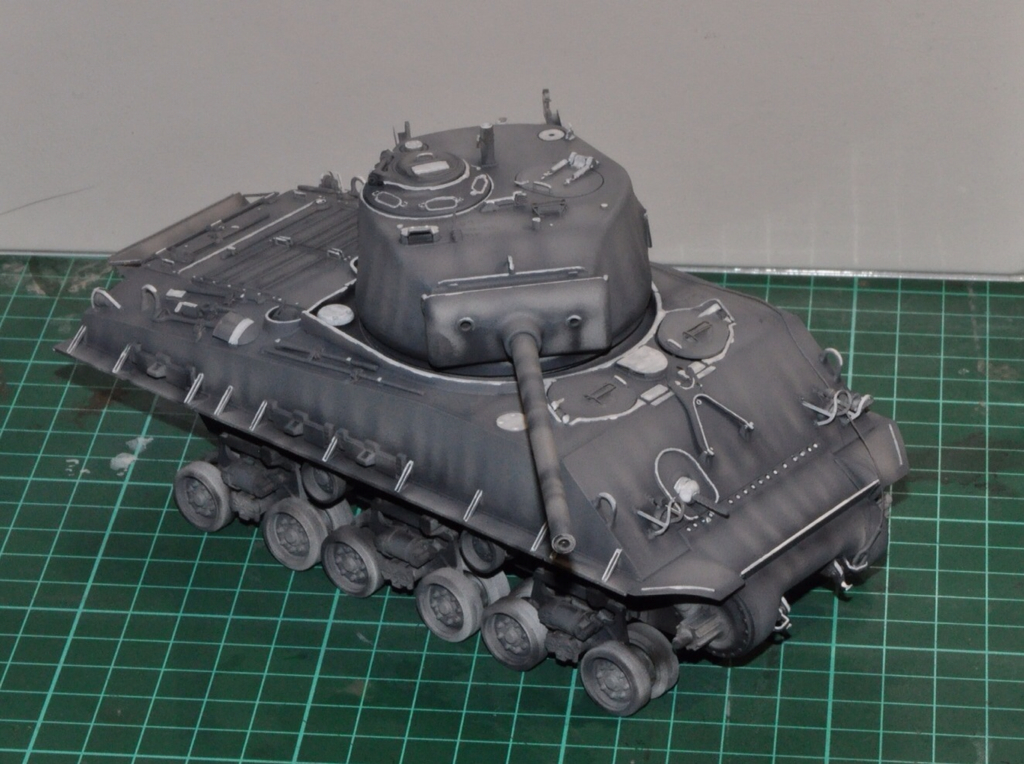 |
| Pre shading |
 |
| First basecoat |
woensdag 19 december 2012
M4A3E8, build part IV
Completed assembling the Sherman, everything kinda dropped into place and little work was needed, except for the turret which had, in my opinion, a little to much visible seems. I corrected this by dotting it with a putty/ glue mix and givenit a light sanding afterwards.
 Because i don't know what the setting of this model i will be and if i want to use figures or not I made all the hatches workable so i can open or close them when needed. I drilled out the hinches and used copper wire to connect the hatches to them.
All the hinches worked with me except the drivers hatch, for this hatch i wrecked the hinch by drilling at the wrong point. I tried to fix this by painting 3D paint over it. 3D paint is perfect paint for giving some texture to parts.
At last i used green stuff to simulate welding beads where some parts, like the PE parts, where missing these beads.
maandag 17 december 2012
M4A3E8, build part III

zaterdag 15 december 2012
M4A3E8, build part II
 |
| Parts of one bogie |
 |
| 5 bogies done, one to go |
.  |
| Lower and upper hull |
Glueing the lower and upper hull together, there is not a single gap between the parts, love the Tasca kits :). Tamiya masking tape is perfect to fixate parts while the glue sets.
donderdag 13 december 2012
M4A3E8, build part I
 |
| Building the T66 Tracks |
 |
| Lower hull, drive sprockets, idler wheels and transmission housing |
 |
| Lower and upper hull dry fitted |
maandag 10 december 2012
M4A3E8
A cleaned up bench was asking for a new project. This project will be the M4A3E8 Sherman from Tasca (#35-020) that i picked up from "der sockelshop" in Germany.


M4A1, Operation Husky, 99% done


The model can use a little bit more weathering, hence the 99% :)
zaterdag 8 december 2012
M4A1, operation Husky, weathering and base

Been busy applying different coats of AK-Interactive dust effects to give the sherman a dusty look. Since this will be a tank that just landed on the beach i choose to keep the dust wash light.

Using plaster bandage and paper-maché i started work on the base that should depict a piece of beach.

Added dune gras made from a old brush and covered the papier-maché with bird-sand (the stuff you buy at the pet store to cover the bottom of bird cages with). The sand is glued to the base using white glue.
I think it needs a last coat of sand before painting.

Placed the serman on the base to get an idea how the result would look like.
Abonneren op:
Posts (Atom)